
Getting to know kale
Kale is a member of the brassica family, which is the same family that super-healthy broccoli and cabbage belong to. It is a superfood for good reason. It’s high in calcium, vitamins A, C, and K, as well as phytonutrients.Kale is technically a biennial plant but usually is grown as an annual.
 Flowering kale (a.k.a. ornamental kale) is pretty
There’s no denying it, kale
is an attractive plant. Both ornamental and non-ornamental varieties
are attractive. Their varied colors and leaf textures make them a great
addition to container gardens for your front step or patio. Kale
varieties include curly, tall, dwarf, blue, green, red, and flat.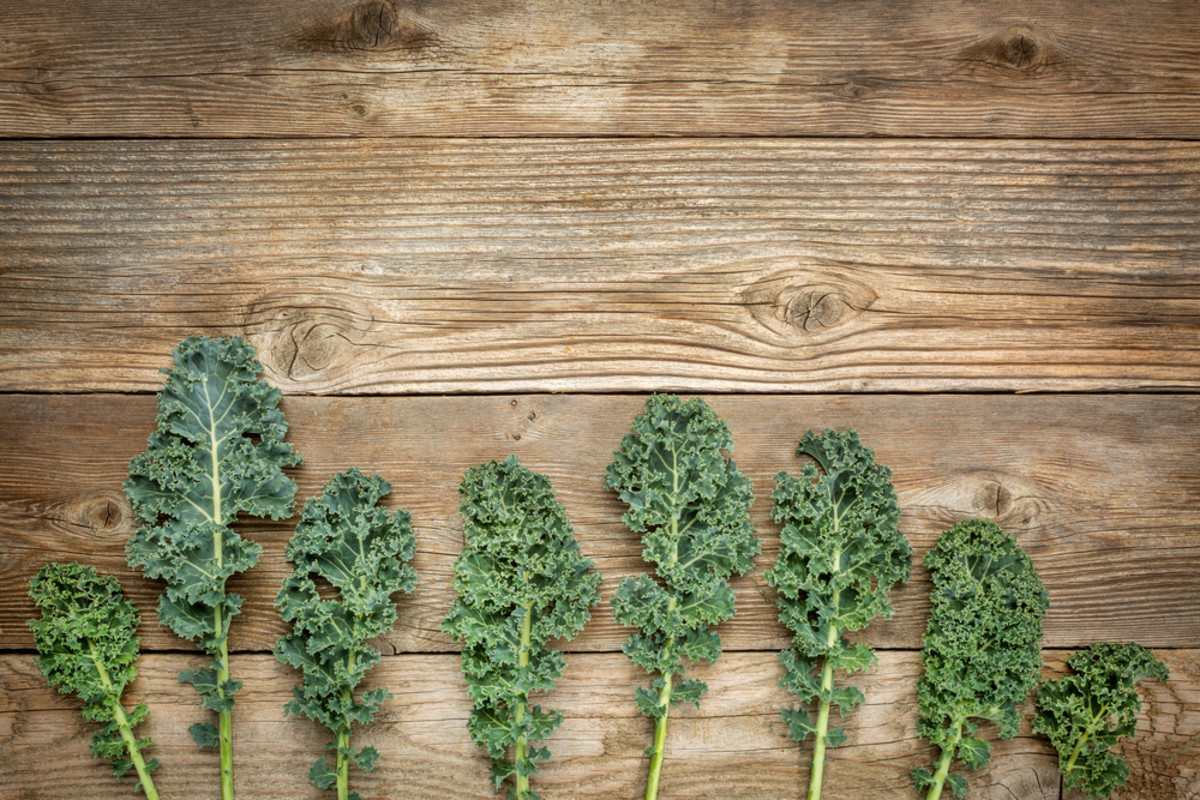
What’s even better? Ornamental kale is not only decorative but edible as well. Some folks say that it doesn’t taste quite as good as non-ornamental varieties, but it is certainly safe to eat.
The kale plant is the easiest of the easy-peasy veggies to grow
Do you remember that time in elementary school when everyone in the class grew a bean sprout in a milk container? Well, growing kale is just as easy as that (maybe even easier). Seriously, even if you missed the whole growing a bean on a windowsill lesson, you can grow kale. I have heard many gardeners refer to kale as “bullet proof,” meaning that you can’t hurt it.Part of what makes kale so easy to grow is that it is a cold weather crop. This means that young kale plants can withstand temperatures as low as 25 degrees Fahrenheit, and mature plants can withstand even lower temps. If it snows, not only will the snow not damage the plant, but it will even continue to grow under the white stuff.
Kale will taste sweeter if it is hit by a frost.
How to grow kale in 6 easy steps
1. Select a growing location that receives six to eight hours of sunlight each day. Kale grows well in a traditional garden or container. A five-gallon bucket is a good option for kale container gardening, but I currently have my kale growing in a window box.2. Plant kale in loose, well-drained soil that is amended with compost or manure. Directly sow seeds (1/4 inch deep) in soil or start seedlings indoors 6-8 weeks before transplanting outside. Kale is ready to transplant outside when it has five or six true leaves.
If you start your kale seeds indoors then remember to harden them off for approximately five days before planting outdoors. (Hardening off is when you gradually introduce your plants to outdoor growing conditions by placing them outside for an increasing amount of time each day. For example, set the kale seedlings outside for 30 minutes the first day, and increase that time each day until they can be out for the majority of the day.)
3. Thin your kale plants so that they are 12-18 inches apart. You will know it is time to thin when each plant has three or four true leaves.
Important! Don’t waste those tiny kale plants that you pull out while thinning. Those tiny leaves are tasty, so add them to your salad or hummus.
4. Evenly water your kale plants. If kale isn’t evenly watered, then its leaves tend to be bitter. Drip irrigation is a great way to keep kale plants happy. Over-watering kale is just as bad as underwatering. Organic mulch applied around the plants will help to conserve moisture.
5. Nourish your kale plants by adding compost every four to six weeks. Some gardeners advocate using a fertilizer that is high in nitrogen, but I find that my homemade compost provides enough nutrients for my kale plants.
6. Harvest kale when the plant has 10-12 leaves and each leaf is 5-8 inches long. If you’re not harvesting the whole plant, then harvest larger outside leaves first. Harvest each leaf from the bottom of the plant, but be careful not to cut the center of the kale plant so it will continue to grow.
Harvest in the early morning, and keep kale in the refrigerator to prevent it from wilting.
Pest prevention
Kale is susceptible to the same diseases that affect broccoli and cabbage, but to a lesser degree. (See, it really is easy peasy to grow!)If you find aphids on your kale plants, then simply covering the plants with a row cover will likely deter them. If you don’t have a row cover then a strong blast of water should do the trick and get rid of them as well. As a last resort, consider using a eco-friendly insecticidal soap.
Are there creepy crawly cabbage loopers (a.k.a. cabbage worms) on you kale plants? Your best means of eradication is to hand pick them off and destroy them (being sure to keep them far away from your compost bin).
Conventionally grown kale
There’s good news and bad news when it comes to the conventionally grown kale that you buy at the grocery store. The good news is that it isn’t on the Environmental Working Group’s (EWG) Dirty Dozen list of the crops with the most pesticide residue. The bad news is that the EWG has expanded that list, and kale appears on the expanded list.According to EWG’s website, “For the fourth year, we have expanded the Dirty Dozen™ with a Plus category to highlight two types of food that contain trace levels of highly hazardous pesticides. Leafy greens – kale and collard greens – and hot peppers do not meet traditional Dirty Dozen™ ranking criteria but were frequently found to be contaminated with insecticides toxic to the human nervous system. EWG recommends that people who eat a lot of these foods buy organic instead.”
Growing kale in your own backyard garden allows you to use organic growing practices and avoid all those nasty pesticides.
Recipes that celebrate kale
Once you’ve successfully grown kale you’ll want to incorporate the luscious leafy green into some delicious recipes.
Image by John Klein. Food styling by Laura Klein
This hearty veggie burger shows off hearty kale leaves. It’s yummy and it’s packed with goodness–beans, quinoa, and kale. (Oh my!)

quiche image via Shutterstock
Who doesn’t love brunch? Gather friends, mix up some Mimosas, and showcase your successful kale harvest with this scrumptious quiche recipe.

image of squash recipe
Some folks eat squash at Thanksgiving and forget about it for the rest of the year. I think that’s a shame because I love squash year round. You may not be able to find winter squash in warmer months or summer squash in cooler months. Simply adjusting your cooking time (less for summer squash, more for winter squash) should do the trick. And what’s not to love about a squash recipe that also showcases kale?
Click Here For More Articles
No comments:
Post a Comment